SMALL SPACE GARDENING: Growing fruit in containers on your deck or patio
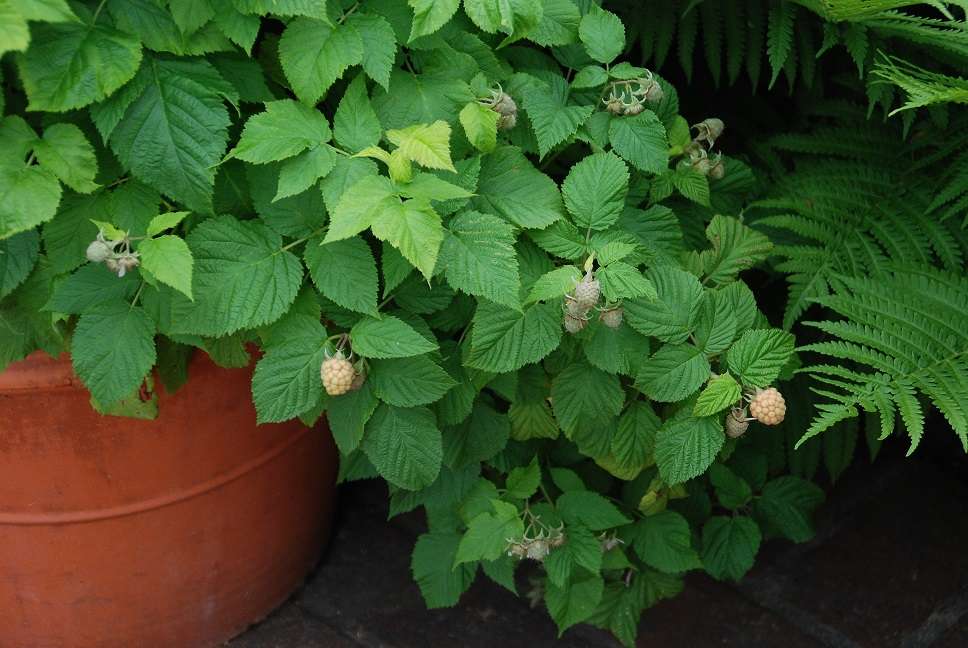
Compact varieties of raspberries and other fruit are well suited to being grown in containers and small spaces.
Photo courtesy of MelindaMyers.com
 by Melinda Myers
Have fun and enjoy picking fresh fruit right outside your door thanks to compact varieties you can grow in containers. Just clear some space on your patio, deck, balcony, or front steps that receives at least six hours of sunlight and get busy planting.
Consider starting with strawberries. They provide seasonal interest with their white flowers, red berries, and brilliant fall color. Day-neutral and everbearing strawberries produce fruit throughout the summer and grow well in strawberry pots, containers, and hanging baskets. Place the containers where you can enjoy their beauty and easily harvest and enjoy a few berries on your cereal, as an afternoon snack, or atop your favorite dessert.
Include a few of the relatively new compact berry bushes suited to containers and small spaces. Raspberry Shortcakeâ grows two to three feet tall and wide and is thornless which makes harvesting a breeze. They produce a bumper crop on new plant growth each season.
Baby Cakesâ blackberry is another thornless space-saving berry plant. Like Raspberry Shortcakeâ it grows two to three feet tall and wide and is thornless. The white flowers and tasty fruit that form on old growth make Baby Cakesâ a nice addition to any outdoor space.
Grow compact blueberries in pots adding pretty flowers, edible fruit, and great fall color to your patio, deck, or balcony. Blueberries prefer moist, well-drained acidic soil that many of us do not have in our gardens but can provide these ideal conditions when growing in containers. You only need one plant to have fruit but growing two will more than double the harvest.
Use narrow and columnar dwarf apples as a living screen or vertical accent. The Urban Appleâ series, Spireâ apples, North PoleÔ, and Sentinel varieties are all suited to growing in containers and small spaces. The trees grow about eight to ten feet tall and only several feet wide. The trunk is loaded with short branches and lots of fruiting spurs for easy harvesting. You will need two different varieties of most apples, including these, for cross-pollination to occur and fruit to develop.
Grow your compact berry bushes in pots 12 to 16 inches in diameter and at least ten inches deep. As the plants grow and mature, move them into larger, 20 to 24″ containers. Your columnar apples will appreciate a bigger container that is 20 inches wide and deep.
Use pots with drainage holes and fill them with a quality potting mix. Check soil moisture daily and water thoroughly whenever the top few inches of soil are starting to dry. Reduce ongoing maintenance by incorporating an organic moisture-retaining product like Wild Valley Farms wool pellets (wildvalleyfarms.com) into the potting mix. This sustainable product reduces watering by up to 25% and increases air space for healthier growth.
Supplement the nutrients in Wild Valley Farms wool pellets as needed with a low nitrogen, slow-release fertilizer and eliminate weekly fertilization. Add the slow-release fertilizer soon after planting and again mid-season if needed. Do not fertilize in late summer as that can stimulate late-season growth that can be damaged in winter.
Those gardening in cold climates will need to provide extra winter protection. Insulate the roots by grouping plants together and surrounding them with bales of straw, bags of potting mix, or similar materials. Or move plants to an unheated garage for winter and water whenever the soil is thawed and dry.
Another option is to grow these plants in nursery pots and set them in decorative containers for summer. When winter arrives, move the potted plants out of the decorative containers and sink the nursery pots in a vacant part of the garden. Lift the plants out of the ground in spring and set them back in their decorative containers for the growing season.
As you master these fruit plants, and if space allows, expand your small-scale orchard to include citrus, figs, dwarf cherries, plums, and peaches. You’ll enjoy the flowers, shade and of course the tasty fruit.
Melinda Myers has written more than 20 gardening books, including the recently released Midwest Gardener’s Handbook, 2nd Edition and Small Space Gardening. She hosts The Great Courses “How to Grow Anything” instant video and DVD series and the nationally syndicated Melinda’s Garden Moment radio program. Myers is a columnist and contributing editor for Birds & Blooms magazine and was commissioned by Wild Valley Farms for her expertise to write this article. Myers’ website is www.MelindaMyers.com.